Step by Step
Step 1:
Verify that you have Docker and Docker Compose installed, as it is a tool as important as Rocketdoo itself.
Step 2:
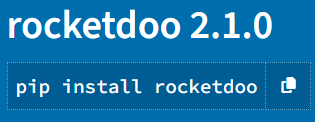
Install Rocketdoo
Step 3:
Install the requirements from the requirements.txt file if they were not installed by default:
Step 4:
Verify the installed version to ensure it is version 2; the old version will still be available.
VERSION "2.2.0"
Step 5:
Now you can create a directory of your choice to get started. However, it is recommended that your directory reference a development intended for Odoo, which makes the most sense, right?
Step 6:
Once you have created your working directory, keep it empty and once inside it, you can execute your first command:
This command will create all the necessary files and folders within your working directory to build your Odoo development environment and debug code with VSCode.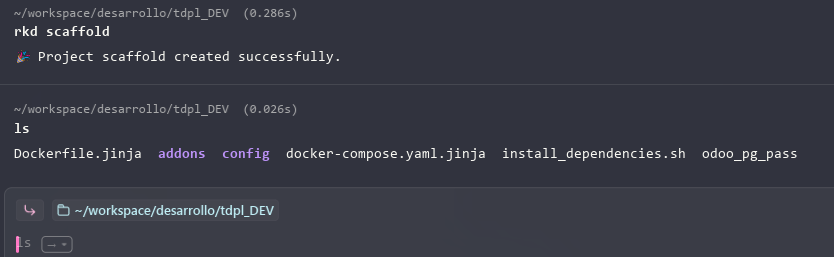
Step 7:
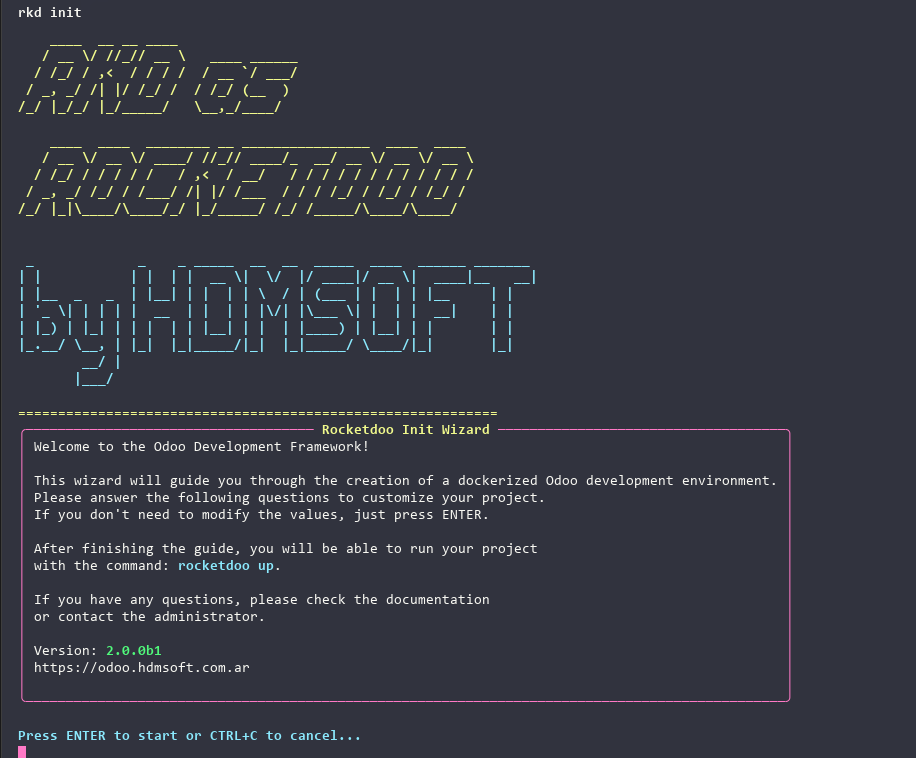
Execute the command to start the Rocketdoo initialization wizard, which will guide you step by step through everything necessary to configure your development environment. Follow the steps and answer each and every one of its questions.
Step 8:
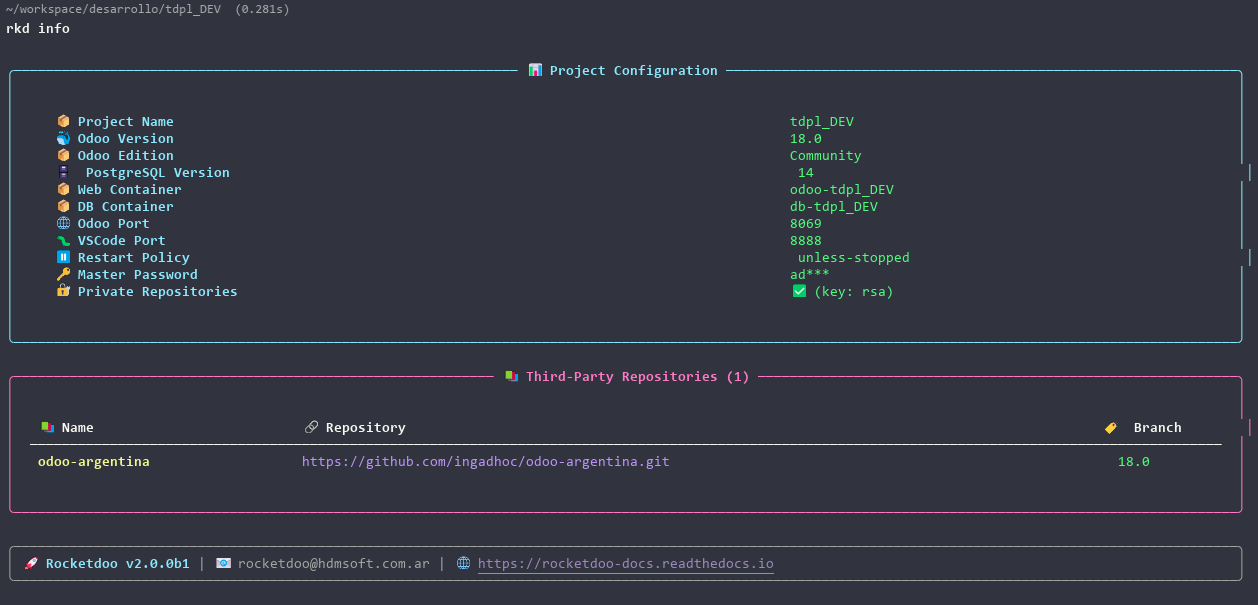
Once the wizard is complete, you can verify how your environment was built with the command:
Step 9:
With the following command you can now deploy your development environment:
Step 10:
Once the deployment has completed successfully, you can access it with your preferred browser using the URL: http://localchost:{odoo-port}
NOTES
Rocketdoo can determine if the ports chosen for Odoo and for debugging code with Visual Studio Code are occupied. In this way, if the chosen ports are occupied, the system will offer you two alternative ports or the option for you to determine new ports of your choice.
If you made an error during the wizard, you can cancel with the key combination CTRL + C and restart without any issues.
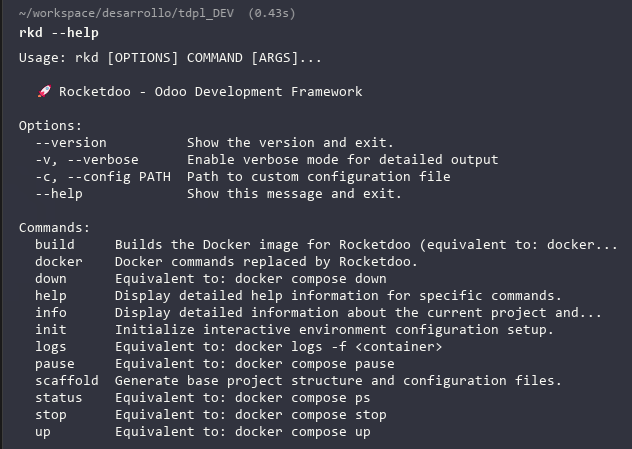
Learn Available Commands
With the following command you can see the help: